


Episode 06 | 2023 | John Stoltzfus |
(More Episodes)
Soil Tests
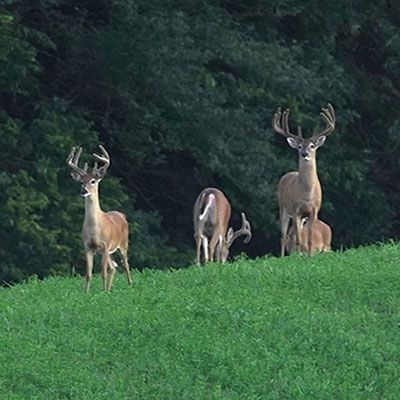
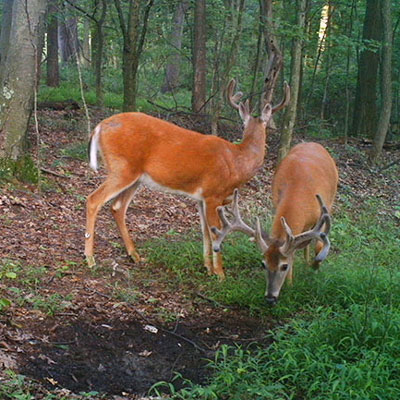
Welcome to the soil test recording. So the question is, why should I do a soil test if I'm doing food plots? Couldn't I just dump on some lime and some fertilizer and call that good enough? So my question would be to you is: Would you consider taking your rifle out or your bow without shooting it and knowing where it is? So that is kind of an illustration of doing a food plot without a soil test. If you don't know where you are, how could we hit our mark that we want to hit?
So the soil is basically what is gonna determine the success of your food plot. The plants are just a transfer agent of what's in the soil. The seeds will only germinate where the soil biology will break that seed down to sprout. So, in my opinion, the #1 step that you could take: to get your soil test - to do a soil test and to see what you're up against before you start buying seed and fertilizer and all that.
The other thing that you have to keep in mind is that the soil test is more than just pH - but the pH is very important, and if you can get it to 6.5, that is ideal. Where at that level - at 6.5 - the most of your trace minerals and nutrients will be available to the plant. But the other important thing is the base saturation percentages, and we can cover that in a little bit.
So, steps to do a soil test. You would need about three items: a clean bucket, you'll need a clean shovel or a soil probe - I like using the soil probe with a step. It takes a lot less effort to go out there and pull those samples - and then you'll need a bag to put your soil test in. So taking the bucket and the soil probe, you'll start at one end of the plot, go into the plot a little bit, and then you'll go down a minimum of five to six inches with your soil probe or shovel. If you're using a shovel, you'll have to make a slice - clear the top debris off, stones or rocks, whatever vegetation, clean that off - and then take a slice of the soil and down minimum of five inches. Eight inches is ideal, 'cause that's about the root zone that you expect to pull nutrients from.
So you'll pull that sample up and put it into the bucket, and then you'll walk diagonal across the plot on an angle and pull another sample, and you'll just crisscross throughout that plot all the way to the other end, and mix that all together in that bucket. And then take one zip lock bag - a sandwich bag - or if you stop in to any soil test company - we at Thunder Ridge Outdoors - we provide you with the soil test bag. Makes it easy. You can write your information on there, and then you'll wanna clearly mark the sample ID so that you know what to reference that soil test as which plot it is.
So let's just use an illustration of plot #1, and you'll go through there, take those samples, mix it in the bucket, and then take one core sample and fill it up to the fill line if you're using a soil test bag. And if you don't have a soil test bag, just use a zip lock sandwich bag and make that about three quarters to full. They need about one cup of soil to run one test. And then you'll take all your soil tests of your plots, and then you'll choose where you want to send it.
The biggest thing to keep in mind when you do soil tests is that you want something that's easy to read, or you want to send it somewhere that somebody will explain that soil test to you. Don't just depend on somebody to give you the recommendations and not explain to you why, or what the soil test means. I encourage you to learn what that soil test is telling you so that you don't have to depend on a consultant to just tell you what to do. If you learn, that is information that you can pass on to the next generation that can help them avoid consultants that will just try to sell you something. There should be a reason for what they're selling you, and you should get results from what you're putting on.
I know for myself, when I make recommendations, I want to know if it's not making it better. The soil is very diverse, it's very complex, but if you have a soil test that is simplified as best as it can be. We use Waters Ag for that reason; It's all bar graphs and charts. And then I would typically put the recommendations on the bottom of what I feel it takes to change that closer to a balance. And the soil is just a lot like our own life, just as a person, if it's in balance, things will work much better. Too much of a good thing is not a good thing. So you need a balance - there's negative and positive in the soil, and I usually think it takes a negative to keep the positive grounded and to make it work.
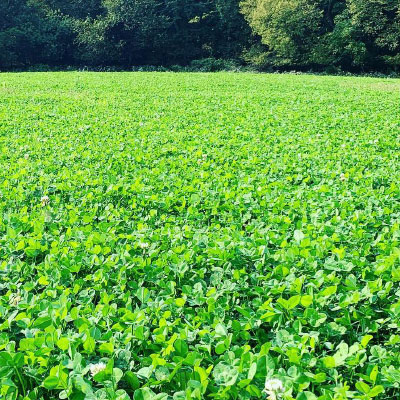
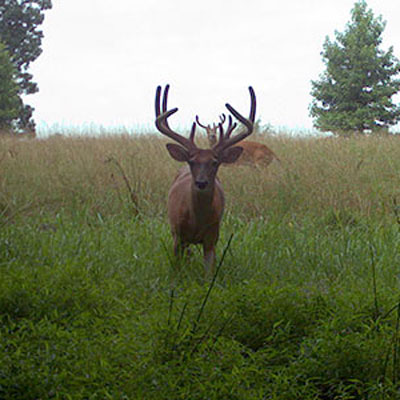
Now, to explain a little bit about - now you get your soil test results and you'll have recommendations, and you'll have bar graphs that show you what that soil has. Now that isn't the true end report card, but it is an estimate to see what you're starting with and what changes that you can make to put on what you need, instead of maybe buying a product that you actually don't need and would actually work the opposite way for you rather than help you. With that being said, we have products that are based on the average soil tests that we get in, and we still look at the plants and how the plant grows as the end report card - how well the deer hit it, and all those things. We still monitor that as the final report card of: Was our food plot a success, and what can we do to make it better?
I will say that calcium is number one. You have to have calcium in your soil to have a good uptake of minerals and a good healthy plant. So we wanna focus on getting the pH to 6.5. And how do we do that? We would apply lime. There's a lot of different sources of calcium - and that's probably for another topic, to keep it to the soil test and how to take a soil test and a little bit how to read. On the base saturation, you're gonna want 70% calcium, 15% magnesium, and 5% potassium. That is the balance that we're gonna try to achieve in any food plot. So we're gonna keep making changes to get closer to that balance. Will we ever be perfect? Probably not. But if we don't shoot to hit that bullseye, then we're gonna be way off.
Again, we wouldn't take our gun out without shooting it at all, and expect that we're gonna hit that deer, or hit that target. So get a soil test, know what you're starting with so that you can then make the changes and do what you need to, to get it taken care of.
So, again, if you have any questions, you can just let me know and I'll be glad to help you through and answer more questions. I hope this helps you get a better understanding on how to collect the sample and make sure that your bucket is clean. Don't use a mineral bucket, don't use a rusty shovel that's all rusted, because that could change the results of your test, if you put that in a mineral bucket and it has those minerals in there yet. So try to use a clean bucket, as clean of a shovel as you can, or buy a stainless steel soil probe and use that. So we can help you with any of the supplies that you need. If you need bags, if you need soil probes - we don't have buckets, but you can get those anywhere at a hardware store or any supply stores like that.
So I hope that helps you, and if you have any other questions, don't hesitate to call in. (717) 989-6239 ext 1.


More Episodes